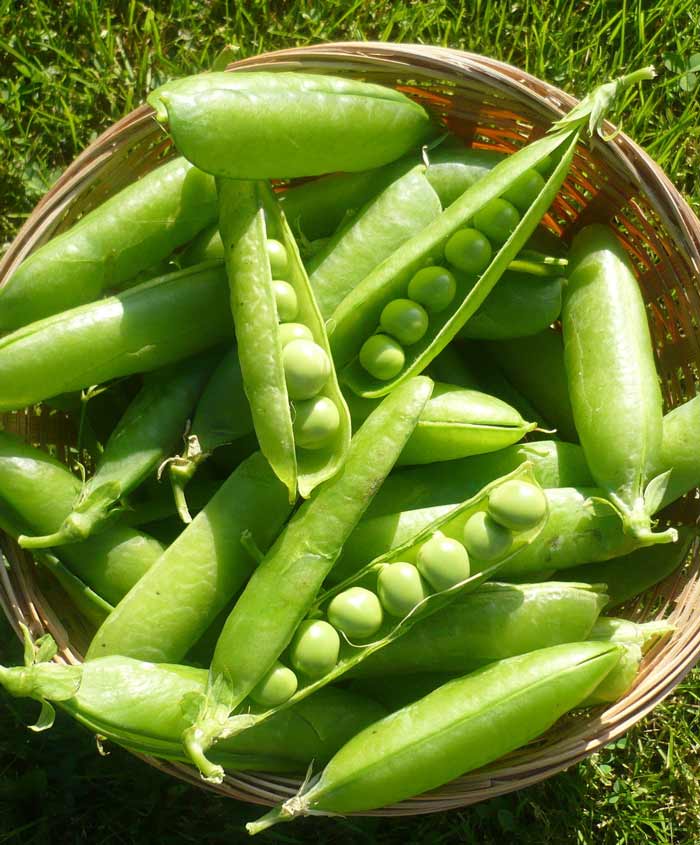
Easy to grow, one of the oldest and most well-known vegetables, a delight to eat, peas are a staple in practically every garden. Their cool-season success means they can be one of the first things planted in the spring and one of the last to be harvested in the fall, allowing for their nutrient-rich pods to be had practically year-round. Peas, unfortunately (or fortunately, depending on how you look at it), attract kids and dogs - they’re so tasty!
Soil Preparation
Peas prefer a sandy soil, rich in organic matter, well drained, and not too heavy. They also need full sun exposure. Before planting, incorporate 1-2 inches of well composted organic matter, Humic, and 1 lb. of all-purpose fertilizer (we recommend “That’s all it Takes” complete fertilizer or Happy Frog Organic Tomato & Vegetable Food) per 100 square feet and work them in to a depth of 4-6 inches. Heavy, clay based soils must be amended with compost and organic matter to encourage and allow for good root development. For best results, add 2-4 inches of a variety of different types of organic matter and 50 lbs. of Zeolite soil conditioner per 100 square feet each fall for multiple years to increase drainage and nutrient availability. By doing this yearly, over time you can create a better growing environment for your garden plants to thrive in and produce. Please consult our Soil Preparation Guide in the attached appendix.
Planting
Peas grow best from seed and can be sown directly outside anytime after the ground has become workable after snowmelt. In Northern Utah, this is typically the second week of March to the first week of April. Soaking the seeds 24 hours in advance can help with germination success. Plant seeds about ½-1 inch deep and 1-3” apart, depending on whether the variety is “dwarf” or “standard”. All peas grow best when trellised or supported, though dwarf varieties can be self-supportive when planted close together. Soak the soil thoroughly after planting, and then a week later, and then hold off additional water until the sprouts begin to emerge to prevent root rot and mildew. Keep 2-4 feet between rows for ease of harvest.
Varieties
At Anderson’s we carry a large variety of English Shelling peas, Sugar Snap peas, and Snow peas. Sugar snap peas and snow peas both have edible pods and can be eaten flat or after the peas have started to develop and fill out. Snap peas actually taste better when you pick them fully developed – Cascadia Snap is our very favorite variety for its crunch and sweet flavor. Snow peas are best when picked young, and can start to lose quality as the peas develop – Oregon Sugar pod has long, sweet, delicious pods that are tasty fresh or stir-fried and cooked. As for shelling peas, Victory Freezer, Green Arrow, and Maestro all have long pods, lots of peas, and amazing quality for fresh eating or freezing. Little Marvel packs a lot of flavor into medium to small pods, and produces lots of early pods on short vines.
Water
Peas need consistent watering for high quality and quantity production. Water stress during flowering and pod formation will result in flower drop, poor fruit set, and poor quality. Use a soaker hose for uniform water distribution and water lightly every 3 days to maintain soil moisture during these essential growth stages. A light compost mulch can help as well if daytime temperatures start to climb over 90 degrees. Moisture is essential, but too much water can result in root rot diseases and slow plant growth. Be consistent!
Fertilizer
Fertilize with a balanced vegetable food (“That’s All it Takes” or Happy Frog Organic Tomato & Vegetable Food) down the side of the row of plants 6 weeks after sprouts emerge. 1-2 cups per 10 feet of row works well.
Don’t forget to inoculate your peas with a nitrogen fixing bacteria (Azos). Not only will the peas thrive and produce more peas for longer, but it will build up your soil with extra nitrogen. We also recommend treating your pea seeds or plants with beneficial microbes and mycorrhizae (Kangaroots or Myke). These added helpers bring nutrients and water directly to the plants that host them, making them stronger, more resistant to insects and diseases, and more drought tolerant.
Common Problems
For the most part, peas are relatively problem free. Heat and powdery mildew are the biggest enemies to a fruitful pea harvest. Watch for warm days and cold nights and a white, cottony or flour looking growth developing on the leaves or flower nodes of the pea plants. Use Fungicide 5 to prevent mildew before it happens or clear it up after a light infestation. Pea weevils, armyworms, and aphids also cause issues as the peas reach maturity. These insects are easily controlled with either Natural Guard Spinosad Soap (organic) or Hi-Yield Indoor/Outdoor Insecticide or Insecticidal Soap.
Harvesting
Pick peas when the pods are full, rounded, and firm. Snap peas are best harvested slightly before the pods reach full maturity, but should still be round and firm. Pick pods as soon as they are ready and peas will continue producing for 3-4 weeks. Plant peas in August for an amazing, early October crop! Sometimes fall planted peas are even better than their spring counterparts.

