A long-time favorite for home gardens, Spinach has seen a huge resurgence in popularity for its high nutritional value and flavor, used widely now in green smoothies and leafy green salad mixes. It’s only true drawback is its inability to resist heat, and go to seed almost as soon as the temperatures reach 80 or greater in May and early June. Spinach tastes great cooked or eaten raw, by itself or incorporated into mixed salads to add flavor and variety. Spinach does best in cool weather and should be planted so it can mature when temperatures are consistently below 80 degrees. It is easy to grow, and matures in a short 45-60 days.
Soil Preparation
Spinach prefers a sandy soil, rich in organic matter, well drained, and not too heavy. They also need full sun exposure. Before planting, incorporate 1-2 inches of well composted organic matter, Humic, and 1 lb. of all-purpose fertilizer (we recommend “That’s all it Takes” complete fertilizer or Happy Frog Organic Tomato & Vegetable Food) per 100 square feet and work them in to a depth of 4-6 inches. Heavy, clay-based soils must be amended with compost and organic matter to encourage and allow for good root development. For best results, add 2-4 inches of a variety of different types of organic matter and 50 lbs. of Zeolite soil conditioner per 100 square feet each fall for multiple years to increase drainage and nutrient availability. By doing this yearly, over time you can create a better growing environment for your garden plants to thrive in and produce. Please consult our Soil Preparation Guide in the attached appendix.
Planting
Spinach is almost always grown from seed because of its quick germination, and can be sown directly outside any time after the soils reach 40 degrees. Optimal seed germination is at 50-60 degrees, so the best time to plant in Cache Valley is in March through early May, and again in August and September for a fall crop. Plant seeds about 1/4-1/2 inch deep and cover with a light mulch, Coconut Coir, or potting soil to prevent soil crusting and to help retain moisture. Try to maintain uniform soil moisture for 7-10 days or until the seeds begin to emerge. As the seedlings begin to grow, thin the plants out to 1-2 inches apart in the rows, and 12-18 inches between rows. Use the baby spinach as it matures, and continue thinning (and eating) until the plants are 4-5 inches apart.
Varieties
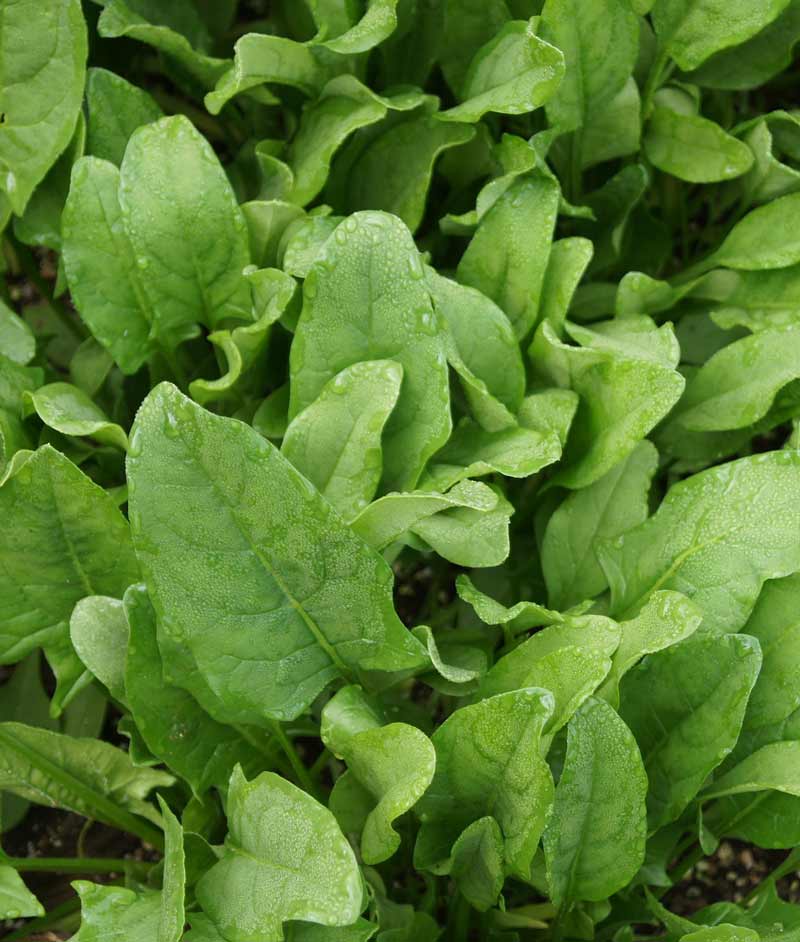
Bloomsdale spinach is a productive heirloom that has proven itself time and again over the years as a steady producer of tasty, crinkled leaves. Melody has to be one of the finest flavored spinach varieties we’ve grown – savoy leaves with a mild flavor and little bitter, iron aftertaste. It’s also very heat tolerant and slow to bolt. Correnta is our favorite variety for baby spinach, and it’s smooth, hardly crinkled leaves, at full size are easier to wash than it’s crinkled counterparts. Correnta also handles the heat as well as Melody.
Water
Spinach needs regular water and consistent soil moisture to produce well. Use of a soaker hose and light mulches can assist in maintaining correct soil moisture and guaranteeing a healthy harvest. We recommend about 1-2 inches of water applied per week in 2-3 applications. Water fluctuations will yield tough and bitter leaves.
Fertilizer
About 4 weeks after germination, apply a balanced vegetable food (“That’s All it Takes” or Happy Frog Organic Tomato & Vegetable Food) down the side of the row of plants and water thoroughly. 1-2 cups per 10 feet of row works well. For more leafy greens, use a higher nitrogen fertilizer like 21-0-0. We recommend the Tomato & Vegetable Food because it contains many micro-nutrients (like Boron & Iron) that prevent common problems in developing vegetables.
We also recommend treating your spinach seed or plants with beneficial microbes and mycorrhizae (Kangaroots or Myke). These added helpers bring nutrients and water directly to the plants that host them, making them stronger, more resistant to insects and diseases, and more drought tolerant. Don’t go home without them.
Common Problems
Spinach doesn’t compete well with weeds and therefore weed control is vital to their success. Hand weed when necessary, and use pre-emergent weed controls (Treflan or Corn Gluten) after germination to prevent new weed emergence. Flea beetles, aphids and leafminers commonly attack spinach and leave distinctive damage behind that can alert the observant gardener to their presence. Several safe and effective chemical and organic controls are available to stop these pests before they start - Ferti-lome Spinosad spray is an excellent organic choice, and Ferti-lome Triple Action Insecticide works quickly and safely to stop a wide variety of insects.
Harvesting
Spinach should be harvested when leaves reach full size and before the seed stalk forms. Strip the outer old leaves off first to continue to let new inner leafs to grow. Once fully mature and/or when warm weather threatens, either pull up the entire plant or just cut it off at the roots to harvest all the leaves. Rinse and pat leafs dry and store in fridge for up to 1-2 weeks. Spinach freezes well for longer term storage.