Home grown corn really does taste better that store-bought or even roadside stand ears. If you pick corn in it’s prime and cook it shortly after harvest, that’s when the best flavor and quality is present, something you’ll never get from anywhere else. Extra sweetness and holding qualities have been naturally bred into newer varieties of corn, that make corn developed even 30 years ago almost obsolete. There are big differences in corn types – Standard, Sugar-Enhanced, Super Sweet, and Synergistic – it’s difficult to keep them all straight. However, with few pests, it’s easy to grow, doesn’t need a great amount of care, and with a large selection of varieties to choose from, sweet corn can be a rewarding crop for the home gardener.
Soil Preparation
Corn prefers a sandy soil, rich in organic matter, well drained, and not too heavy. They also need full sun exposure. Before planting, incorporate 1-2 inches of well composted organic matter (poultry or other manures work great), Humic, and 4-6 pounds of a high-nitrogen fertilizer (we recommend Ammonium Sulfate 21-0-0 or Milorganite for an organic alternative) per 1000 square feet and work them in to a depth of 4-6 inches. Heavy, clay-based soils must be amended with compost and organic matter to encourage and allow for good root development. For best results, add 2-4 inches of a variety of different types of organic matter and 50 lbs of Zeolite soil conditioner per 100 square feet each fall for multiple years to increase drainage and nutrient availability. By doing this yearly, over time you can create a better growing environment for your garden plants to thrive in and produce. Please consult our Soil Preparation Guide in the attached appendix.
Planting
Corn needs sun all day and will not tolerate shade very well. Once you have chosen your planting spot, mark out rows that are 3-4’ apart, and length doesn’t matter. For best pollination, it is recommended that you plant at least three rows. Locally, corn is planted anytime between Mother’s Day and Independence Day. We have planted early varieties as late as Pioneer Day (July 24th) and still harvested a heavy crop the last week of September. There are two different methods for planting corn seed: a seeder or by hand. Depending on the type of seeder used, a seeder (Earthway Precision Seeder) will dig a shallow trench, drop individual seeds every 3-4 inches and then cover it up gently. The other method is to plant by hand, dropping 2 seeds every 12” about 1” deep. Once the seeds germinate, you can thin the plants as needed or let them all grow. We recommend no more than 3-4 plants every 12-18 inches. Without ample sunlight, corn will not produce full size ears, so make sure to space the corn correctly to enjoy a full harvest.
Varieties
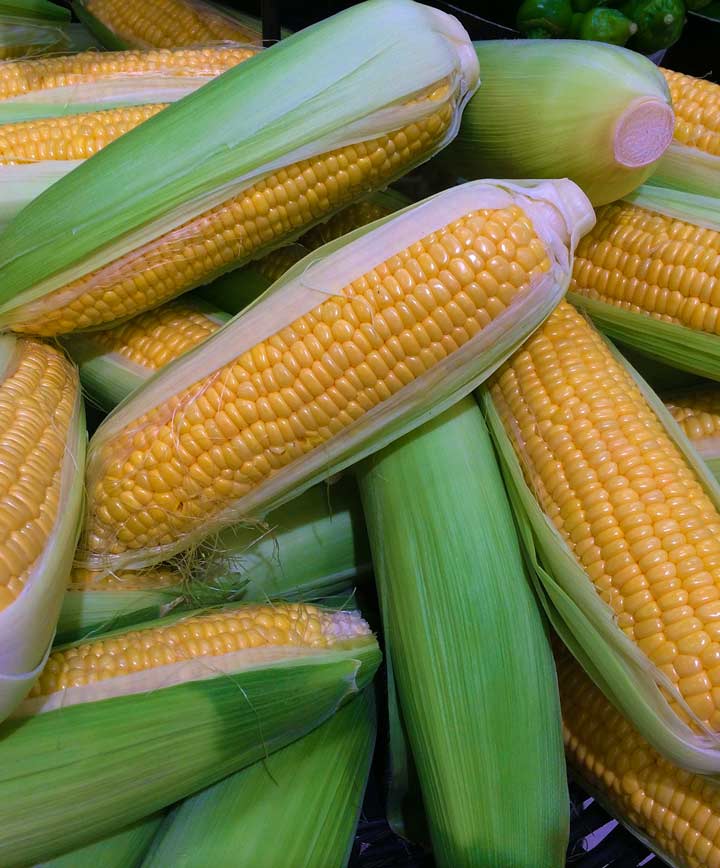
Sweet corn comes in 4 different categories: Standard Hybrid, Sugar Enhanced, Super Sweet, and Synergistic. If you are accustomed to modern sweet corn, the quality and flavor of old fashioned, heirloom varieties will seem very poor in comparison. Don’t expect heirloom tomato flavor quality from heirloom corn – it’s just not the same. Standard Hybrid corn (NK 199, Golden Jubilee) is sweet and very productive. It’s only major drawback is it converts to starch very quickly, so it must be used shortly after harvest. Sugar Enhanced or SE corn varieties (Incredible, Ambrosia, Bodacious, Sugar Buns) have improved sweetness, quality, and will hold for up to 7-10 days when refrigerated without much loss of quality. They freeze and can equally well. Super Sweet or SH2 corn varieties (Optimum, Eden, Breza) take it one step further. Sweetness, tenderness, quality and holding ability are all greatly improved over the SE corn: we’ve never grown a sweeter, tastier corn that will hold its quality for up to 2 weeks when refrigerated. Synergistic corn varieties (Profit, Sweetness, Ka-Ching) get the best of both of those worlds, combining 25% SH2 kernels with 75% SE kernels on the same cob. It really is an amazing development.
Water
Make sure the seedlings do not dry out during the first few weeks of growth. Once plants are established, switch to a deep water method, either furrow watering, a soaker, or drip system. To encourage deep root development, let the plants stress slightly for water. This will help prevent your corn from laying over during high wind events. We recommend deep watering once every 5-10 days depending on your soil type, with a total of 1-2” of water applied per week.
Fertilizer
Corn is a heavy feeder and needs nitrogen three times during the growing season. Sprinkle with a teaspoon of ammonium sulfate (20-0- 0) around each hill when the plants are knee high (12”), hip high (36”), and when it starts to tassel. Make sure the fertilizer doesn’t make direct contact with the plants, and water thoroughly after application. If your corn doesn’t have enough nitrogen during development, your stalks will be short, the ears will be small (or undeveloped) and the kernels won’t fill out to the tips of the cobs. Fertilize, fertilize, fertilize!
Common Pests/Problems
Corn regularly doesn’t experience many problems during the growing season. The most common pest is the corn earworm. These fat green or brown worms hang out at the tip of the ear and do their damage to the top inch or two of the cob. Dusting the silks every 7-10 days with a permethrin based insecticide (we like Hi-Yield Garden, Pet and Livestock) or spraying with Ferti-lome Spinosad will help prevent this problem. It will also help prevent earwigs and grasshoppers from doing damage to your silks but will not interfere with pollination. Another problem you may run into is called corn smut. It is a fungus that infects the stalk and ears. We recommend removing any affected plants and discarding them. If you have had problems with smut in the past, plant your next crop in a different location or use resistant varieties.
Harvesting
Depending on the variety, you can expect anywhere from 1 to 3 ears per stalk of corn. Earlier ripening varieties will have smaller ears while the later varieties will have longer ears. Start checking your crop about 3 weeks after the silks emerge. Do this by gently pulling back the husks and piercing a kernel with your nail. If the fluid is watery and clear the ear is not ripe. If the fluid is milky your ears are ready to harvest. If it has the same consistency as toothpaste, your ears are over ripe. For best taste, some enthusiasts recommend having the water boiling before corn is picked. If you have too many ears to eat before they are over ripe, most varieties freeze or can very well. The latest we have ever harvested excellent quality corn is mid-October from a July 25 planting.